Slow images aren't just a minor inconvenience—they're a silent business killer. Every second a visitor spends waiting for your pictures to appear is a moment they might decide to leave for good, taking their potential purchase with them.
That lag has a real, measurable cost.
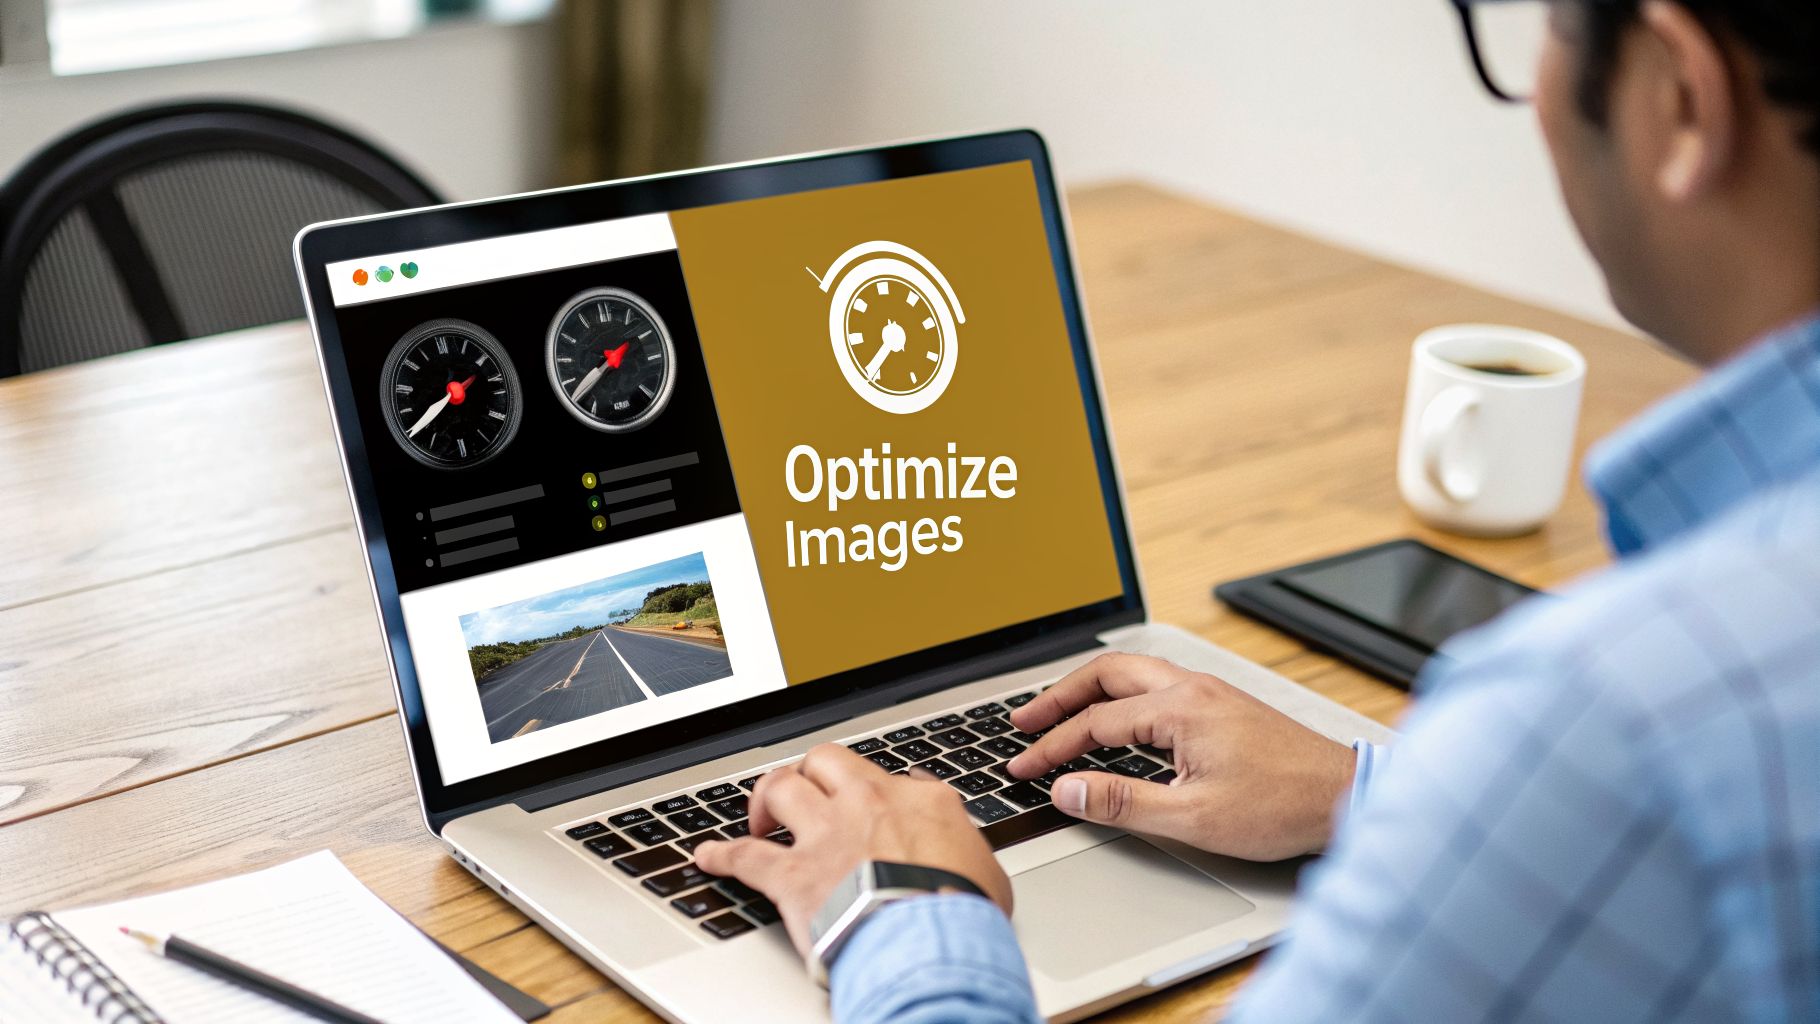
Why Slow Images Are Costing You More Than You Think
Let's get straight to it: for most websites, unoptimized images are the single biggest cause of slow page loads. They create a frustrating user experience that leads directly to higher bounce rates, fewer returning visitors, and lost sales. This isn't just a tech problem; it's a direct threat to your revenue.
Think about it from your customer's perspective. They land on your site, and the hero banner or product gallery is just a blank space. That crucial first impression is gone. Instead of feeling engaged, they feel frustrated and might even assume your site is broken. That's when they click the back button.
How Slow Images Hurt Your Google Rankings
The damage doesn't stop with frustrated users. Google is watching, too. A key part of its ranking algorithm is a set of metrics called Core Web Vitals, which measure the quality of a site's user experience.
One of the most important of these is the Largest Contentful Paint (LCP). It measures how long it takes for the largest visual element on the page—almost always an image—to fully load. A slow-loading image means a poor LCP score, which signals to Google that your site offers a bad experience. The result? Your search rankings can drop, making it that much harder for new customers to find you in the first place. You can see how this fits into the bigger picture of why slow-loading pages are so damaging to your business.
Slow pages don't just feel bad to users; they perform poorly in every measurable way. From reduced time-on-page to lower conversion rates, the data is clear: speed is a feature, and unoptimized images are its greatest enemy.
The Real Cost of Large Image Files
It’s shocking how much weight bloated images add to a page. They often account for over 50% of a page's total size, making them the number one culprit behind slow load times. To fix this, you first need to understand how to optimize images for web, as it's the most impactful change you can make.
The results speak for themselves. Businesses that get their image optimization right have seen bounce rates fall by as much as 32% and conversions increase by 15%. A fast, seamless experience builds trust and keeps people engaged, making them far more likely to stick around, read your content, or buy your products.
This isn't just about technical tweaks. It’s about building a better, more profitable business. In the next sections, we’ll get practical and show you exactly how to turn your images from a liability into one of your greatest assets.
Choosing the Right Image Format and Size
Before you even touch a compression tool, your first decision—choosing the right image format and dimensions—is the most critical one you'll make. Getting this wrong from the start is a classic case of creating unnecessary work for yourself and, more importantly, dragging down your website's performance. The good news is that once you understand the specific job of each format, making the right call becomes second nature.
Think about it from a practical standpoint. If you run an e-commerce store, your product photos have to be sharp, but they also need to load in a flash. This is where a modern format like WebP is a lifesaver. It delivers much better compression than older formats like JPEG, giving you significantly smaller files with virtually no drop in visual quality. It's the perfect balance for showing off your products.
On the other hand, if you’re trying to place your company logo on a colored background, you need a format that supports transparency. That's a job for PNG. It’s designed to handle transparent backgrounds perfectly, something JPEGs simply can’t do.
Sizing Your Images Correctly
The single biggest mistake I see people make is uploading massive images straight from a digital camera or a stock photo service. An image that’s 4,000 pixels wide has absolutely no business being dropped into a blog post container that's only 800 pixels wide. The browser is forced to download that huge file and then shrink it on the fly, wasting a ton of bandwidth and slowing everything to a crawl, especially on a phone.
So, how do you fix this? Before you upload anything, figure out the final display size. A little trick is to use your browser's "Inspect" tool (just right-click on a similar image on your site and choose "Inspect"). This will show you the exact dimensions of the image container. If an image will only ever be shown at 600px wide, resize it to that exact width. This one step can slash your file sizes before you even think about compression.
My number one rule: Always resize images to their maximum display dimensions before you upload them. No amount of compression can make up for a file that's fundamentally too big for its container. This is a non-negotiable step for a fast website.
For example, a big, beautiful hero image at the top of your homepage might need to be 1,920px wide to look good on a large monitor. But a small author bio photo in the sidebar? That probably only needs to be 150px. Tailoring each image to its specific job prevents you from serving a single wasted byte.
To make this even clearer, here’s a simple flowchart to guide your decision-making process every time.

As you can see, the path is pretty straightforward. If it's a simple decorative element, you might be better off using CSS. If your image needs a transparent background, PNG is the go-to. For just about everything else, WebP is the modern, efficient choice.
Your Image Format Decision Guide for 2026
To help you choose the best image format on the fly, here is a quick reference table. Think of it as your cheat sheet for balancing visual quality with file size in any situation you encounter.
| Format | Best For | Key Advantage | Consideration |
|---|---|---|---|
| JPEG | Photographs and complex images with lots of color. | Great balance of quality and small file size. | Does not support transparency; compression is lossy. |
| PNG | Logos, icons, and graphics needing a transparent background. | Lossless quality and full alpha transparency support. | File sizes can be much larger than JPEGs. |
| WebP | A modern all-rounder for replacing both JPEG and PNG. | Superior compression and also supports transparency. | May not work on very old, outdated browsers. |
| SVG | Logos, icons, and simple vector illustrations. | Scales perfectly to any size without losing quality. | Not meant for complex photographic images. |
| GIF | Short, simple animations and low-color graphics. | Universal support for basic looping animations. | Limited to 256 colors, which often means lower quality. |
Think of these formats as different tools in your toolbox. You wouldn't use a hammer to drive a screw, and you shouldn't use a PNG for a huge photographic background. In that scenario, a well-optimized WebP or JPEG would result in a file that’s 50-75% smaller, which is a massive win for page speed.
Getting these foundational choices right from the start sets the stage for every other performance improvement you'll make.
Mastering Image Compression Without Sacrificing Quality

So you’ve resized your images and picked the perfect format. The next move is where the real magic happens: compression. This is all about running your image through an algorithm to shrink its file size, and it's single-handedly the biggest lever you can pull for faster page loads.
The challenge, of course, is to make files smaller without turning your gorgeous photos into a blurry, pixelated mess. It’s a balancing act, but modern tools have made it incredibly simple to get fantastic results. The key is knowing the difference between the two main types of compression.
Lossy vs. Lossless Compression
Every compression tool uses one of two methods: lossy or lossless. Getting your head around these concepts is a game-changer for optimizing images effectively.
Lossy Compression: This method works by strategically throwing away tiny bits of data from the image file to achieve huge size reductions. It's "lossy" because that data is gone for good. But here’s the thing: when done right, you literally can't see the difference. The quality loss is imperceptible to the human eye. This is the tech behind JPEG and WebP files.
Lossless Compression: This technique is more like a clever re-packer. It reorganizes the image data more efficiently without deleting anything. The huge plus is that image quality remains 100% perfect. PNG files use lossless compression, which helps explain why they often have larger file sizes.
For the vast majority of photos and complex graphics on a website, a moderate level of lossy compression is the way to go. It delivers the best bang for your buck, often slashing file sizes by 70% or more with no noticeable drop in visual quality.
My Go-To Tools for Easy Image Compression
You don't need to be a Photoshop pro to compress your images. I’ve recommended these simple, effective tools to countless clients over the years because they just work.
TinyPNG / TinyJPG
This is my number one recommendation for a reason. TinyPNG is a free web tool that’s ridiculously easy to use. Just drag and drop your JPEG, PNG, or WebP files, and its smart lossy compression works its magic in seconds.
For example, it's not uncommon to see an image that was 127 KB get crunched down to just 37.7 KB—a massive 71% reduction—with no visible change. Making this a regular part of your workflow will have a huge impact on site speed.
ImageOptim (for Mac)
If you're a Mac user who prefers a desktop app, ImageOptim is a fantastic, free utility. Its real power is in bulk processing. You can drag an entire folder of images into the app, and it automatically runs them through various compression techniques to squeeze out every last unnecessary kilobyte. It's a massive time-saver.
For Those Who Want More Control
If you're a designer or just someone who likes to get hands-on, you'll want more granular control. For that, nothing beats professional design software.
- Photoshop’s "Save for Web (Legacy)" Feature: This built-in Adobe Photoshop tool is the ultimate control center. It opens a dialog where you can flip between formats, drag a quality slider, and see a live preview of your changes. It lets you dial in the absolute perfect balance between file size and visual fidelity before you commit.
No matter which tool you pick, the goal is always the same: compress every single image before it ever touches your website. This one habit is one of the most powerful things you can do to keep your pages fast, your visitors happy, and your SEO on the right track.
Making Your Images Work for SEO and Accessibility
Alright, so your images are compressed and sized correctly. What’s next? This is where we move beyond just speed and start turning your images into genuine assets for your business. When you get this part right, you’re not just making your site faster; you’re boosting your SEO and creating a more welcoming experience for every single visitor.
Think of it this way: search engines can't actually see your images like we do. They rely on text-based clues to figure out what a picture is about. Every image you upload gives you two golden opportunities to provide those clues: the file name and the alt text.
Nail Your Image File Names Before You Upload
This is a step that's so easy to skip, but it makes a world of difference. Before you even think about uploading an image to your site, take a look at its file name. A camera-generated name like IMG_7843.jpg is a completely wasted opportunity—it tells Google and other search engines absolutely nothing.
Instead, get into the habit of renaming your files with descriptive, relevant keywords. Let’s say you’re a Boston bakery featuring a new cake. A file name like chocolate-fudge-cake-boston-bakery.jpg is infinitely better. It clearly describes the image, uses hyphens to separate words (which search engines prefer), and includes terms that potential customers might be searching for.
Here’s what that looks like in practice:
Instead of:
photo1.jpgUse:
blue-suede-running-shoes-for-men.jpgInstead of:
DSC_0056.webpUse:
diy-reclaimed-wood-coffee-table.webp
This simple change transforms your images from anonymous files into indexed assets that can start ranking in Google Images and funneling interested people directly to your website.
Write Alt Text That Helps Everyone
Alternative text, or alt text, is even more important. It has a crucial dual role: it describes the image for visually impaired users who use screen readers, making your site accessible, and it gives search engines another layer of context for SEO. Getting alt text right is fundamental for both what is website accessibility and a solid image SEO strategy.
The best alt text is a straightforward, concise description of the image's content. The primary goal here isn't to cram in keywords; it's to provide a useful description for someone who can't see the picture.
My rule of thumb: Write alt text for people first, search engines second. Describe what you see accurately and naturally. If you can fit a keyword in without it sounding forced, great. But never sacrifice clarity for a keyword.
For example, imagine a product photo of a red backpack. Your alt text could be: "A hiker rests on a mountain trail, wearing a bright red canvas backpack with leather straps." It’s descriptive, useful, and naturally contains relevant terms without feeling spammy.
Take Your Strategy to the Next Level with Sitemaps and Schema
Once you've mastered file names and alt text, you can move on to some more advanced tactics to really get an edge. Two of the most effective are image sitemaps and Schema markup.
An image sitemap is a dedicated file that lists out all the images on your website, making it easier for search engines to find and index every visual you have, even ones they might otherwise miss. If you're on WordPress, many popular SEO plugins can create one for you automatically.
Schema markup (also called structured data) is where things get really powerful. This is a bit of code you add to your pages to give search engines incredibly detailed information about your content. With Google Images, Search, and Maps accounting for nearly 93% of all online activity, you can't afford to ignore this. By implementing specific schema, like Product schema, your images can show up in search results as rich snippets with pricing and availability. This can lead to a click-through rate boost of up to 30%, according to some studies you can find on sites like DiviFlash.com.
Ultimately, you’re turning a simple picture into a rich, informative search result that actively drives traffic and sales.
Taking Your Image Performance to the Next Level

Alright, your images are sized correctly and compressed beautifully. Now we get to the really powerful stuff—the techniques that change how a browser loads your visuals. These strategies go beyond the files themselves and can make a night-and-day difference in how fast your site feels, especially for visitors on mobile.
First up is one of my favorite quick wins: lazy loading. It’s a simple but brilliant concept. Instead of forcing the browser to download every single image when the page first loads, you tell it to wait on any images that are off-screen. They only get loaded right before someone scrolls them into view.
This single change dramatically improves your initial load time and saves bandwidth. It's a massive win for users on slower connections or mobile data plans.
The Easiest Speed Boost: Lazy Loading
Getting lazy loading to work used to require clunky JavaScript libraries. Not anymore. Modern browsers have this capability built right in.
All you have to do is add the loading="lazy" attribute to your image tags. That's it. The browser takes care of the rest, deciding the perfect moment to fetch the image as the user scrolls.
Here’s what it looks like in practice:

By adding that one little attribute, you stop all your below-the-fold images from getting in the way of your page’s critical first impression. While newer versions of WordPress do this automatically, it’s always smart to double-check your site’s code. Sometimes a theme or plugin can interfere. If you're looking for more ways to get your WordPress site flying, check out these tips on how to speed up a WordPress site.
Serve the Perfect Image with Responsive Syntax
Sending a giant 1920px hero image to someone’s tiny phone screen is a cardinal sin of web performance. It wastes data and slows everything down. Responsive images fix this by letting you give the browser a menu of image sizes to choose from.
The magic happens with the srcset attribute. You simply list out your different image versions and tell the browser how wide each one is.
For instance, you might have these versions of one image:
mountain-small.jpg(600px wide)mountain-medium.jpg(1200px wide)mountain-large.jpg(1800px wide)
Your HTML would look something like this:

Now, the browser does the work. It looks at the user's screen size and pixel density and downloads the most efficient file. No more wasted bandwidth. This is non-negotiable for modern web design.
Turbocharge Delivery with a CDN
The final piece of the performance puzzle is a Content Delivery Network (CDN). Think of a CDN as a global network of servers that all keep a copy of your site's images and other static files.
When someone from Japan visits your website hosted in the US, a CDN serves them the images from a local server in Asia. This massively cuts down the physical distance the data has to travel, which means your images load much, much faster for your international visitors.
Using a CDN not only makes your site faster for a global audience but also takes a significant load off your main server. Getting started with a service like Cloudflare or Bunny.net is surprisingly straightforward, often just involving a quick settings change.
Of course, image optimization is just one part of the bigger picture. To learn more about creating a fast, responsive experience across your entire site, this guide on how to improve website loading speed is a fantastic resource.
Your Image Optimization Questions Answered
Even after you've learned the ropes, a few practical questions always pop up. It's one thing to understand the theory, but it’s another to build a consistent workflow that doesn't slow you down. I get it.
This section is all about tackling those common hurdles I hear about from clients all the time. Let’s clear up any lingering doubts so you can move forward with confidence.
Does Image Optimization Need to Be a Continuous Process?
Yes, without a doubt. The single biggest mistake I see is treating image optimization as a one-and-done project. That's a surefire way to let your site's performance slowly degrade over time.
Think of it as routine maintenance, just like updating plugins or backing up your site. Every time you add a new blog post, upload product photos, or refresh your team headshots, those new images have to go through the optimization gauntlet. It doesn't have to be a major chore.
The key is to build a simple, repeatable workflow you follow every single time: resize, compress, and rename. Making this an unbreakable habit is what separates fast, professional websites from the ones that get bloated with every update.
This discipline ensures your site stays lean and quick, protecting all the hard work you've already put in.
How Do I Handle Image Optimization on WordPress or Shopify?
Great question. Both WordPress and Shopify are fantastic platforms, and thankfully, both have excellent tools to help manage your images. The trick is knowing what these tools do for you—and what they don't.
H3: For WordPress Users
- Automation Plugins are Your Friend: Tools like Smush or ShortPixel are lifesavers. They can automatically compress any image you upload and even convert them to WebP on the fly.
- But They Can't Do Everything: Here's the catch. A plugin can’t fix an image that's fundamentally the wrong size. You must always resize your images to their correct display dimensions before you upload them to the WordPress Media Library.
H3: For Shopify Store Owners
- Dive into the App Marketplace: The Shopify App Store has powerful solutions like Crush.pics or TinyIMG that automate compression for your product catalog.
- Check Your Theme's Features: Many modern Shopify themes come with built-in lazy loading and will automatically generate responsive image sizes. Dig into your theme’s documentation to see what it's already handling for you.
Even with these amazing tools, the core principle doesn't change. You are still responsible for that first, crucial step: resizing images to appropriate dimensions before uploading. No plugin can magically shrink a massive 4000px photo down to a 600px product thumbnail without serious initial waste.
What Are the Best Image Dimensions for Social Media?
Your beautifully optimized website images often won't translate perfectly to social media. Every platform has its own preferred dimensions to avoid awkward cropping and keep your content looking sharp. These goalposts can move, but here are some solid guidelines for 2026.
- Instagram Posts (Square): 1080 x 1080 pixels
- Facebook & X (Twitter) Link Posts: 1200 x 630 pixels
- LinkedIn Article Banners: 1200 x 627 pixels
- Pinterest Pins (Vertical): 1000 x 1500 pixels
Using these specific sizes signals a level of polish and professionalism that helps your brand stand out. It’s always a good idea to do a quick search for the latest specs, but these dimensions are an excellent starting point for your social graphics.
By internalizing these answers, you’re developing the intuition to make smart decisions about every image you use online. This is how you truly master image optimization and maintain a fast, high-performing site that actually helps your business grow.
Ready to stop worrying about technical details and focus on growing your business? The team at Sugar Pixels specializes in creating beautiful, high-performance websites that are optimized from the ground up. We handle everything from design and development to ongoing maintenance, so your site stays fast and effective. Learn more about our web design services and let us build you a digital presence that converts.